How to Paint a lion nail (Step by Step Tutorial)
The shape of spikes, spiky petals is what gave these plants his name.
The word "lion" is actually a lion's tooth French name, meaning "Dandelion".
You will need:
Her nails painted a color that will leave dandelion really "pop"
A fine brush nail art
The color of nail polish to be displayed against its background color
I chose to use black and white, because I love the look silhouette in black and white can create.
How to paint Dandelion Nail Art
How to Paint Dandelion Nail Art
Source: Chace Watkins
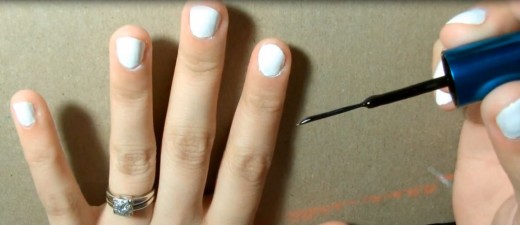
Step 1: Painting a solid background
For your dandelion in the center of the show, begins to paint the nails of a plain, solid color. You can paint a beautiful blue to represent the sky, green to represent grass, or just simple, elegant black and white.
Source: Chace Watkins
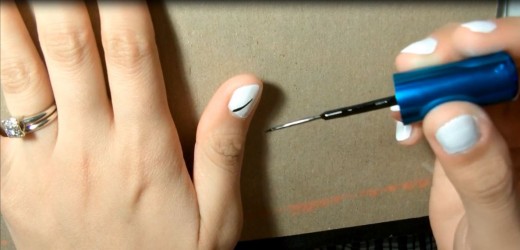
Step 2: The rod
Using a thin nail art brush, paint the trunk at a slight angle (for a more natural look). He must hit the nail halfway around to make room for all the fluff later. To keep your bar is too thick, make sure to wipe off any excess polish off of your brush.

Source: Chace Watkins

Source: Chace Watkins
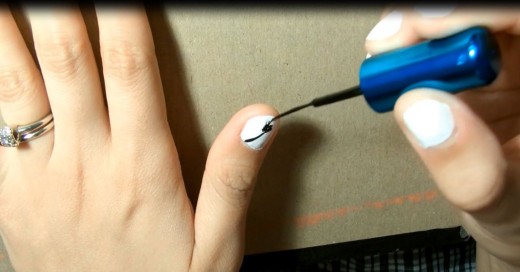
Step 3: The center
With the tip of the nail art brush, stippling some polish around the end of the stem to form the center of the seeds. Should be roughly circular in shape, but do not focus too hard to get absolutely perfectly round.
Source: Chace Watkins

Source: Chace Watkins
Source: Chace Watkins
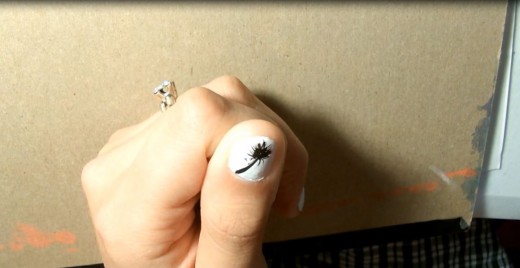
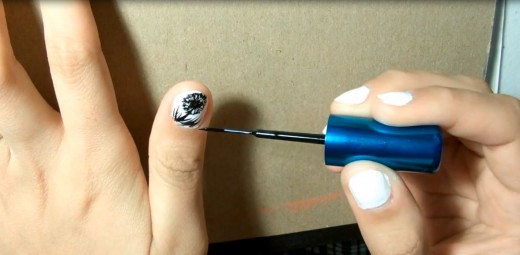
Step 4: The "Parachute"
Using a brush is almost completely dry (do not want there to be a lot of ink, or their seeds will come out as huge bubbles), draw very fine lines radiating from the center of the flower. Try to make them slightly tilted, even crossing each other in some places, to create depth, variety and a more realistic look.
When finished, it should be something like fireworks exploding or a spider with lots of legs.
Source: Chace Watkins

Source: Chace Watkins

Source: Chace Watkins
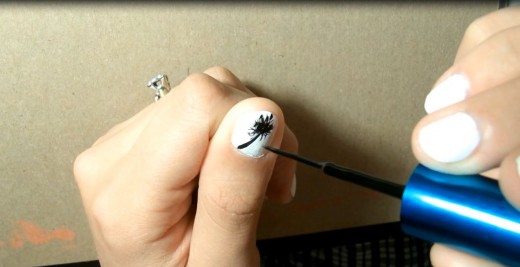
Step 5: Completing the lint
With the tip of the nail art brush, apply small lines around the outside of the flower at the tips of fine lines you just drew. Sometimes Avoid pressing too hard or too many in a given area.
To make your three-dimensional flower, lightly dab on some points of the mass of the flower (as seen through the thin seed for the other side). When finished, the dandelion should be fluffy and full.
Source: Chace Watkins

Source: Chace Watkins
Step 6: Add Grass
In order to keep your dandelion sits alone, you can add herb leaf sweeping motions using fast even with the tip of his brush nail art. Cancellation of some of them to a three-dimensional illusion. In addition, pressuring bases, relieving pressure as it approaches the tip of the blade creates a natural look.
Try to make them rotate in the same direction as the flower to make it look like a gentle breeze blowing through the area.
Written by admin
![]()


